Top 8 Tips for Successful Quilt Marking with Stencils
Quilting with stencils on your domestic machine is a game-changer! It takes the guesswork out of quilting and lets you focus on the fun part - stitching! Whether you are brand new to quilting with stencils or looking for an edge-to-edge pattern to speed up your free motion quilting, these are my favorite tried-and-true tips to get you started with marking your quilts.

Sewing With Stencils Tip 1: Iron Your Quilt Top
Before you mark anything, give your quilt top a good press! Wrinkles can throw off your lines and make your stencil slip or mark unevenly. A smooth surface helps your marking pen glide and keeps your design consistent.

Tip 2: Work on a Large Flat Surface
Find the biggest table you can (kitchen island, dining table, even the floor works in a pinch). Having a large surface allows you to smooth out the area you are stenciling and gives you plenty of room to ensure you are consistent in your alignment. Since my quilt top is often larger than the surface I am working on, I will fold the sides and top or bottom to try and keep a smooth and as flat surface as possible.

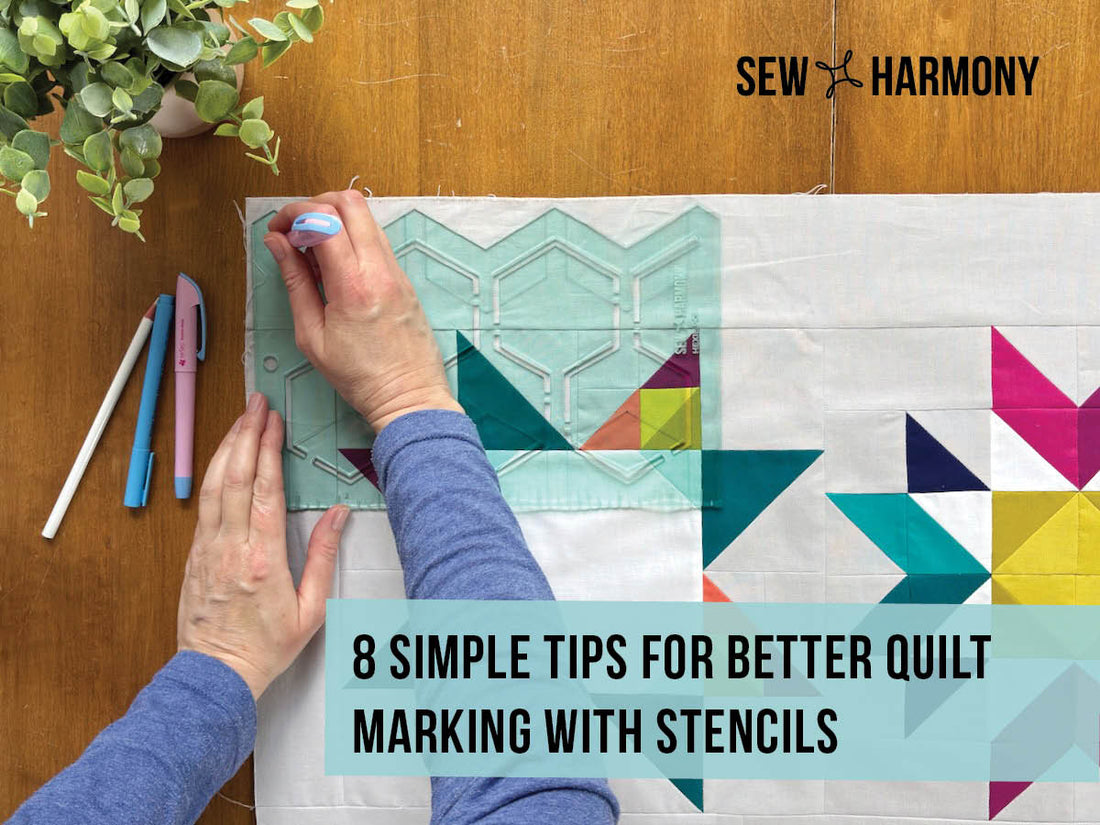
Tip 3: Have Multiple Marking Tools Available
Sometimes one marker just doesn’t cut it. I like to keep a few blue water-soluble pens on hand along with one white water-erasing pencil when I mark my quilts. Some fabrics that are darker do not show the blue pens and the white pencil is a great alternative. Also, it’s nice to have a backup marking tool - especially if your favorite pen runs dry halfway through!

Tip 4: Start at the Top Using the Edges of the Quilt for Alignment
Use the top edge of your quilt and the sides as a guide to keep your design straight from the start. If you start slightly off, that tilt can grow with each row—so take your time lining up that first pass!

Tip 5: Overlap the Marked Pattern for the First Row
Let the design you just marked peek through some of the cutouts when lining up your stencil. A little overlap gives you a visual cue and helps prevent those sneaky shifts or tilts that are easy to miss until you are halfway through. This is most important with the top row of stencil marks.

Tip 6: Apply pressure to the stencil where you are marking
Hold the stencil firmly at the spot you’re tracing to make sure your marking pen makes solid contact with the fabric. This helps your lines stay crisp and accurate—and keeps the stencil from lifting or shifting while you work your way across the design.
Tip 7: Use TrueGrips or Some Kind of Ruler Tacky to Prevent Slipping
Building off of tip 6, adding a little grip to your stencil can go a long way! Sticky dots like TrueGrips or something similar to the back of your stencil keeps it from sliding while you trace. It’s one of those tiny upgrades that can make a big difference.

Tip 8: For the Hills Stencil, Use Painter’s Tape to Cover the Unused Row
The hills stencil is super versatile, and if you're going for one of the alternate looks, just pop some painter’s tape over the sections you don't need to mark. It helps you stay on track and prevents marking extra lines you'll just have to ignore later.

With a little prep and the right tools, stenciling your quilt top can be quick, accurate, and (dare I say?) kind of relaxing. Try a few of these tips the next time you pull out your stencils, and see how much smoother your quilting process becomes. Got a tip I missed? I’d love to hear what works for you—drop a comment or message me anytime!